mz500 sprague clutch starter .. a how to
tools needed.
allen keys, 24 and 27mm sockets or spanners, 13mm socket/spanner, a couple of small screw drivers, circlip pliers (or screw drivers again),
ok
1. remover the cam belt cover
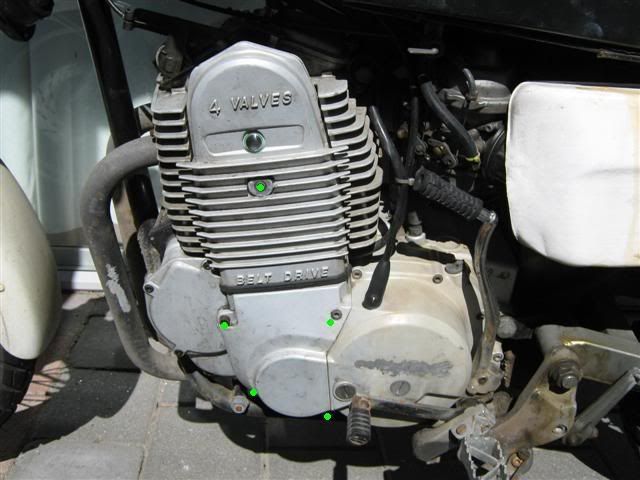
2. remove the starter gear cover
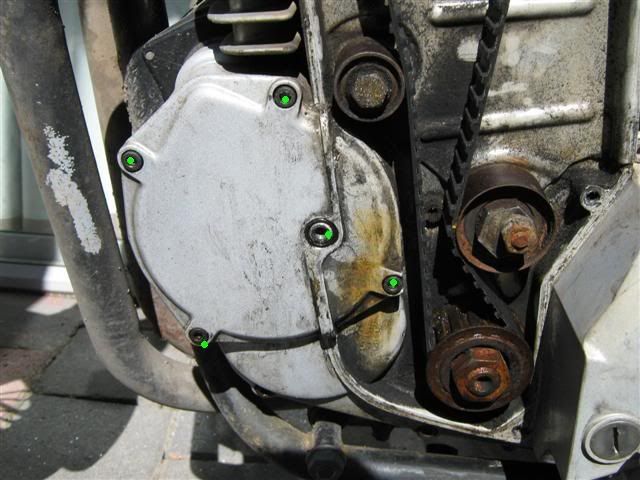
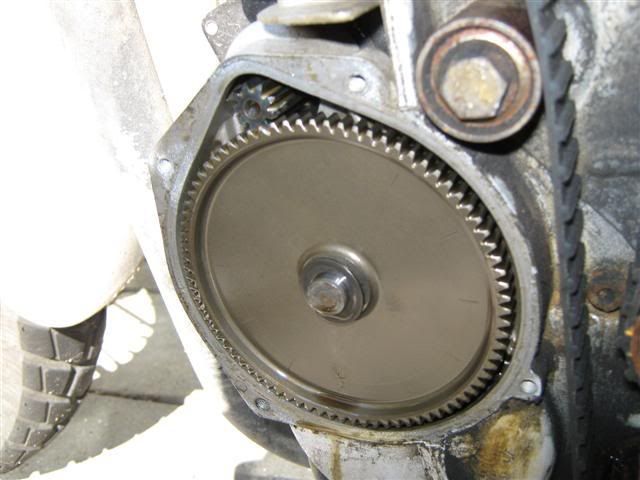
3. put the bike at top dead center and lock in the crank,
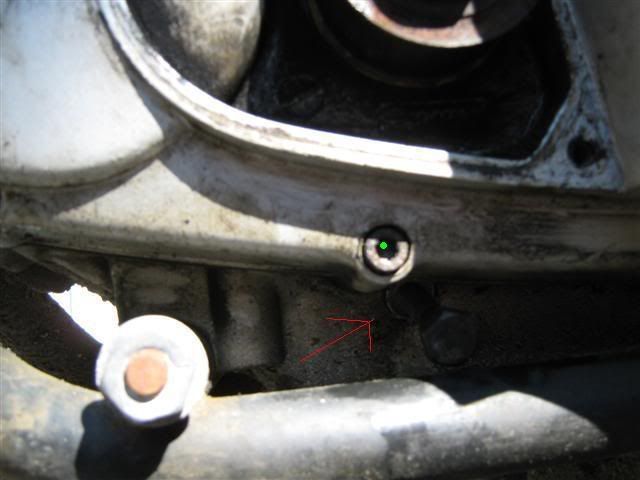
make sure its locked in position with your 24/27mm socket before you go any further,
4. as per belt change, remove all the adjusters and belt,
remove the top and bottom sprockets, making sure everything is marked
5. remove the back cam belt plate
6. remove the kickstarter and the gear changer
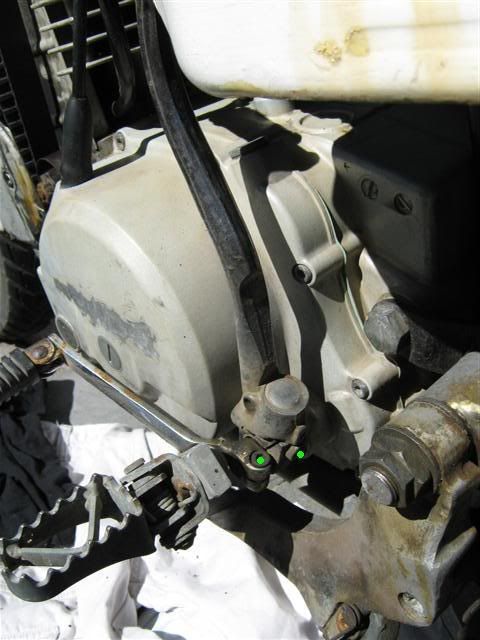
7. remove the washer and the little clip behind it
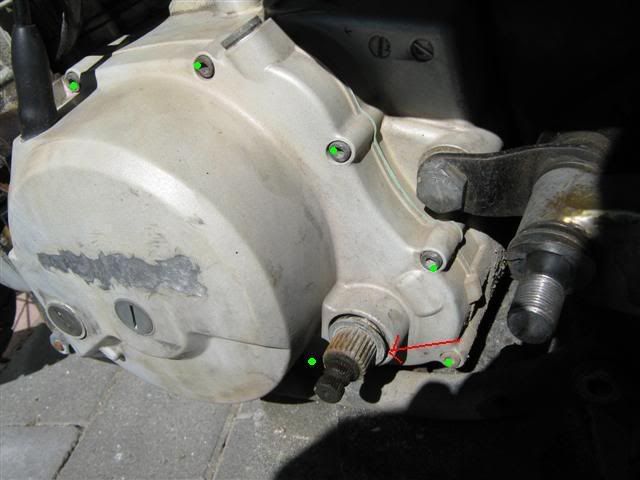
8. now its time to remove the clutch cover
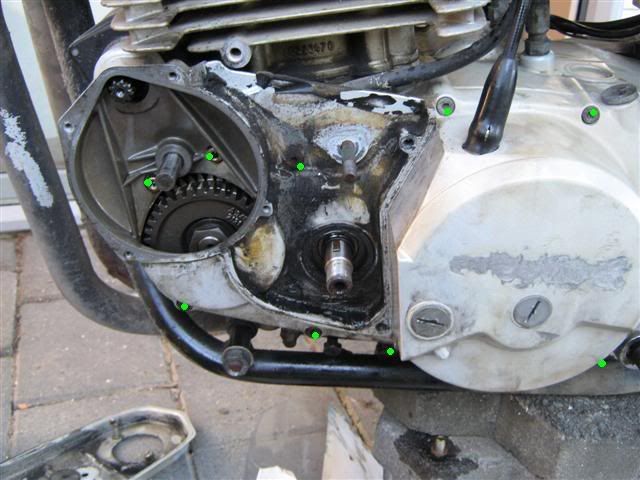
9. with the clutch cover now off, you just have to unbolt the gear that is ontop of the sprag
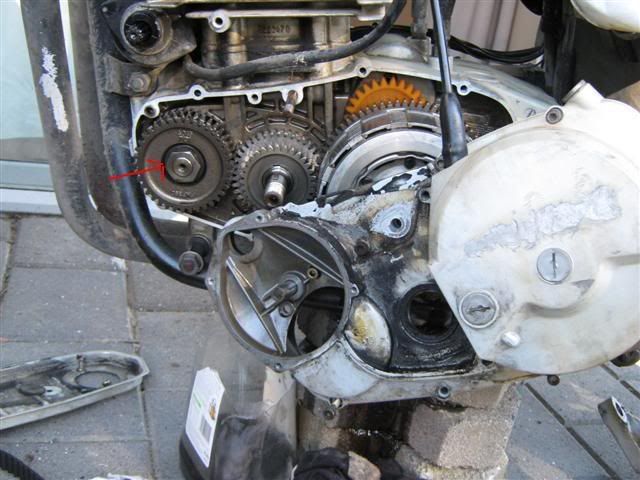
10. remove the snap ring, and then use a flat bladed screwdriver to squeeze the circlip on the sprag (this releases the sprag) (red arrows)
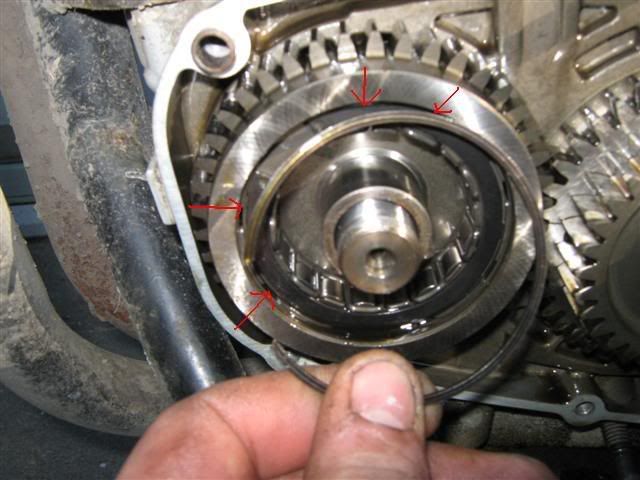
11. pull the sprag free
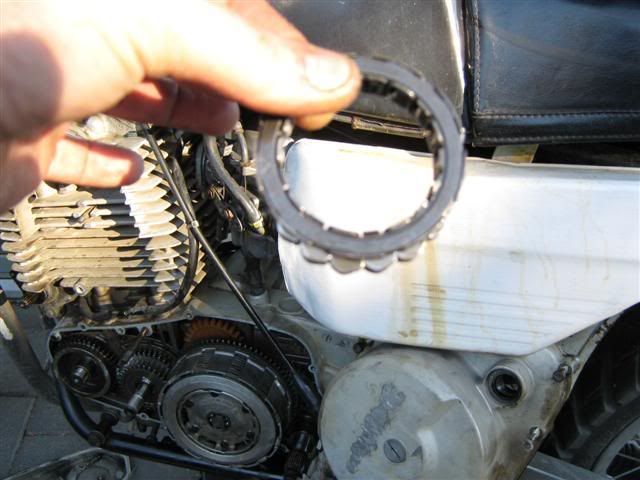
bugger that looks shagged,
either fix the spring (shorten it) or replace the sprag completly
it should look like this
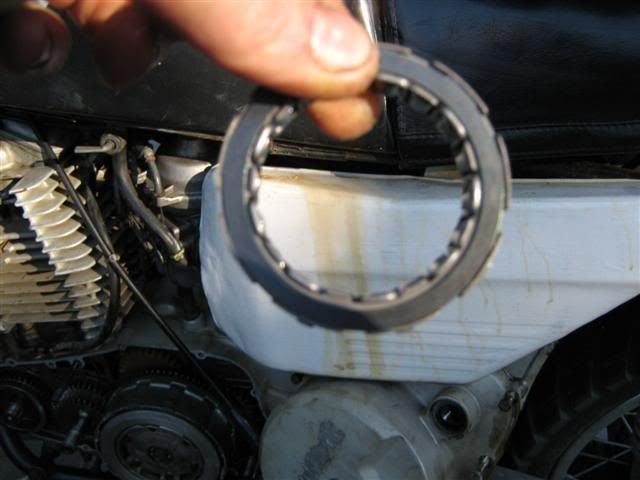
put the new/fixed on in place and reverse the whole procedure,
fun times
it took me about 2 hours, having never done it before, and not really having any real instruction,
i think i could get that down to about 40mins
allen keys, 24 and 27mm sockets or spanners, 13mm socket/spanner, a couple of small screw drivers, circlip pliers (or screw drivers again),
ok
1. remover the cam belt cover

2. remove the starter gear cover


3. put the bike at top dead center and lock in the crank,

make sure its locked in position with your 24/27mm socket before you go any further,
4. as per belt change, remove all the adjusters and belt,
remove the top and bottom sprockets, making sure everything is marked
5. remove the back cam belt plate
6. remove the kickstarter and the gear changer

7. remove the washer and the little clip behind it

8. now its time to remove the clutch cover

9. with the clutch cover now off, you just have to unbolt the gear that is ontop of the sprag

10. remove the snap ring, and then use a flat bladed screwdriver to squeeze the circlip on the sprag (this releases the sprag) (red arrows)

11. pull the sprag free

bugger that looks shagged,
either fix the spring (shorten it) or replace the sprag completly
it should look like this

put the new/fixed on in place and reverse the whole procedure,
fun times
it took me about 2 hours, having never done it before, and not really having any real instruction,
i think i could get that down to about 40mins
